What to include
Send the page URL, the command or asset name you tried, your Windows edition, and whether you used winget or the exe. Do not send personal disk images or USB dumps.
Upstream bugs
Program defects belong on the GitHub issue tracker for pbatard/rufus, or the contact paths listed on rufus.ie. This guide only covers install guidance.
Privacy
How messages are handled: privacy.
Practical Windows habits that keep downloads calm
Confirm App Installer from Microsoft when the package manager command is missing. Reopen Terminal after App Installer lands, then retry the documented line.
- Checksums, when published, live next to assets on GitHub Releases.
- Read LICENSE.txt before redistributing modified builds under GPL terms.
- Prefer one install door per PC so shortcuts cannot resurrect abandoned binaries.
Keep personal photos off the spare stick you plan to erase. Label the flash drive with the OS name and the write date.
SmartScreen may warn on a freshly downloaded executable. Stop if a blog asks you to disable protections for an unknown publisher before the official package arrives.
Spare media habits for recovery desks
Keep a labeled drawer of spare flash drives that never hold family photos. Write the OS name and the calendar date on a paper tag after each successful pass.
- Color tags for installer sticks versus photo dumps.
- Paper logs for ISO hash and stick serial.
- One-time boot menu keys photographed per laptop model.
Store the ISO files you already trust on an internal archive folder with checksum text beside them. Re-download only when the vendor publishes a new retail image.
Borrowed classroom PCs may block unknown executables and package managers. Carry a known-good stick built on a machine you control rather than fighting policy on the target PC.
Elevation prompts and destructive confirms
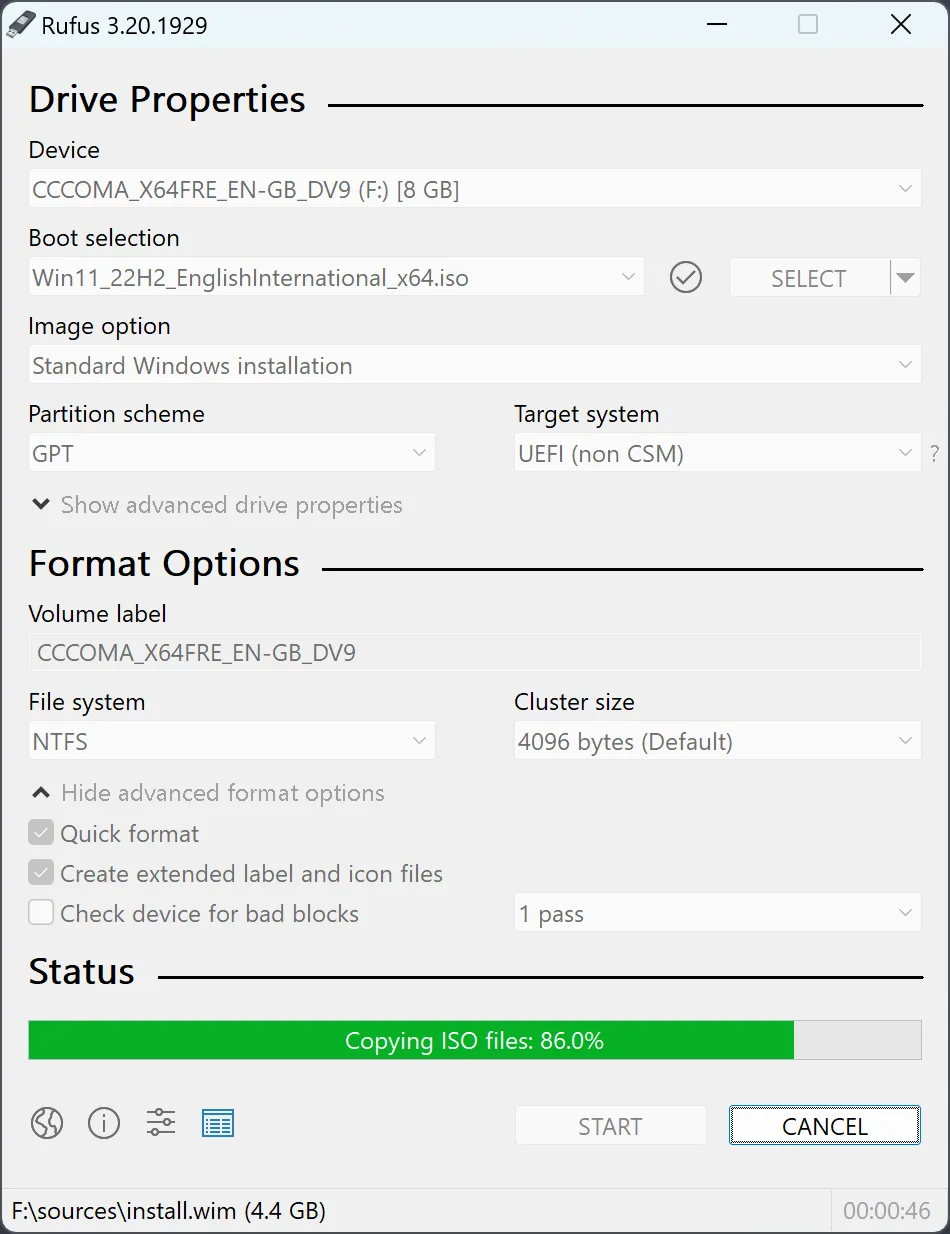
Expect an elevation prompt when the write starts. Read the Device name carefully. The dialog warns before destroying data on the selected drive.
- Confirm Device matches the spare stick.
- Confirm Boot selection points at a trusted ISO.
- Confirm Partition scheme matches firmware mode.
- Press START only after the destructive warning makes sense.
Leave advanced Windows ISO options alone until a simple write succeeds. After the status line finishes, eject cleanly.
Checksums, fake flash, and warranty sticks
Bargain USB drives sometimes report sizes that look wrong. Upstream feature lists include bad blocks checks and help for detecting fake flash.
| Signal | What to do |
|---|---|
| Hash mismatch on ISO | Re-download from the OS vendor |
| Bad blocks failure | Replace the stick |
| Unknown publisher on exe | Stop and return to official doors |
A failing check is a hardware problem. Replace the stick. Do not keep writing installers to a drive that fails verification.
Signed builds should show Akeo Consulting when you inspect file properties on modern Windows. Prefer the official homepage, GitHub Releases, and Windows Package Manager over Softonic-style wrappers.
Fleet catalogs without dotted pins
If your workplace already pins the package through Intune or another catalog, use that channel and skip random search ads.
- Document whether each PC uses winget or a shared exe share.
- Remove abandoned folders after upgrades.
- Read LICENSE.txt before redistributing modified builds.
Catalog lag can trail a fresh upload on GitHub, so public copy says the current release rather than a dotted pin in static HTML.
Security fix names appear in release bodies when upstream publishes them. Prefer the current release. Do not invent severity scores from marketing pages.